How to Host ASP.NET Core App in a Windows Service
We can host ASP.NET Core apps on Windows as a Windows Service. Note that this approach does not need IIS, Apache or Nginx. So the app automatically starts whenever the system restarts.
This tutorial is a part of the .NET Hosting Series which contains a total of 5 tutorials, which are:
- How to Host ASP.NET Core App in a Windows Service
- Host ASP.NET Core app on IIS
- Host ASP.NET Core on Apache in Windows
- Host ASP.NET Core on Apache in Linux
- Host ASP.NET Core on Nginx in Linux
Create ASP.NET Core MVC app
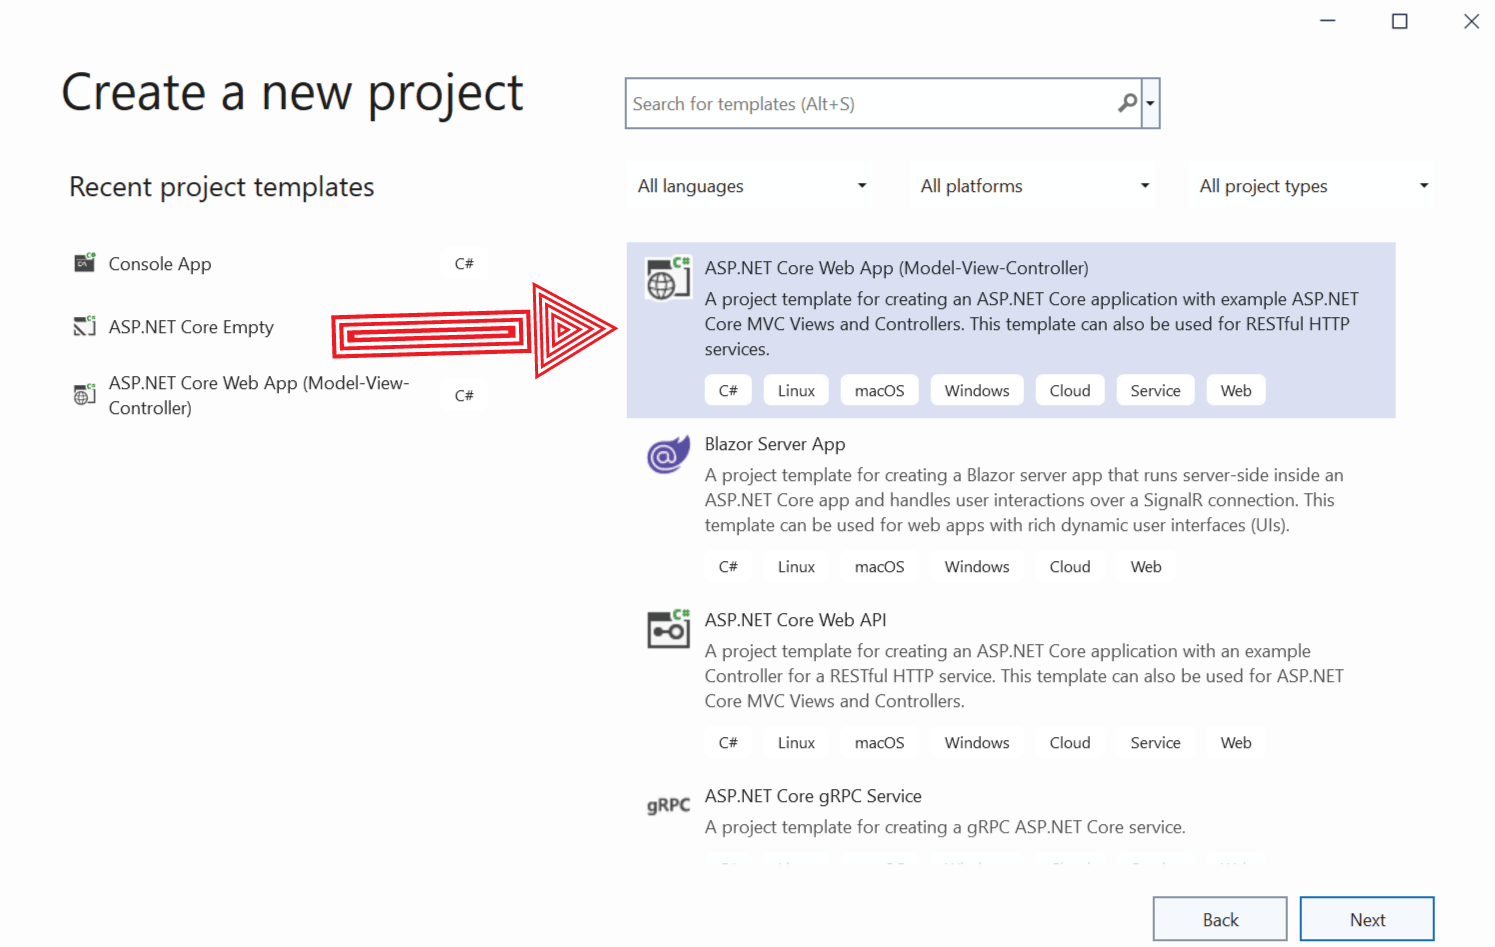
Open Visual Studio and create a new .NET app by selecting ASP.NET Core Web App (Model-View-Controller) template.
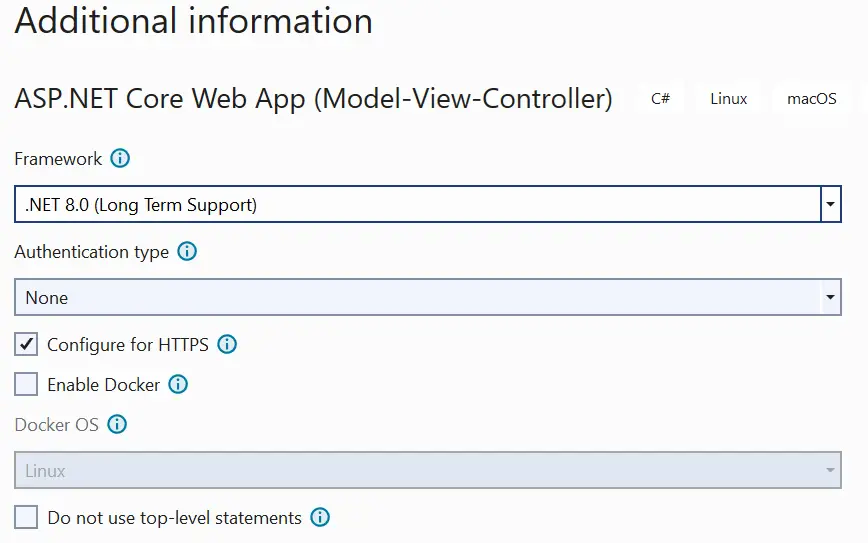
Name the app as TestWindowsService and select .NET 8.0 version and leave everything else untouched. Click the Create button to create this app.
In the app, install the package Microsoft.Extensions.Hosting.WindowsServices from NuGet.

Next, register windows service on the Program.cs. The code to add is given below.
builder.Services.AddWindowsService();With this our .NET app is ready to be Hosted on a Windows Service.
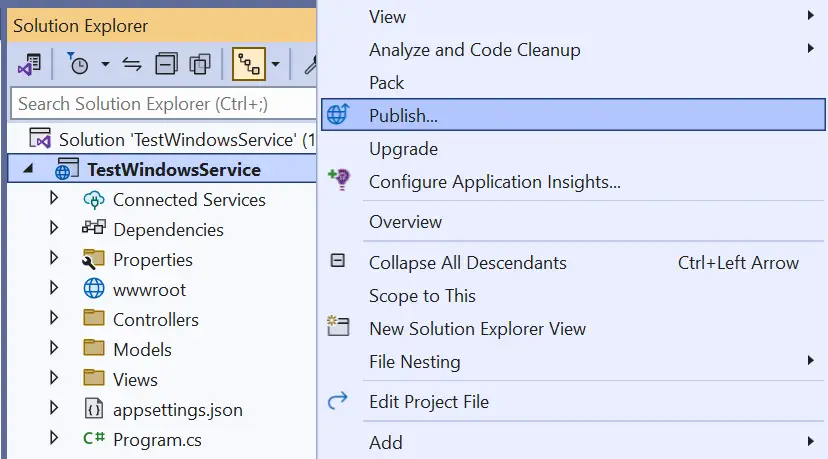
Let’s publish the app by right clicking on the app in Solution Explorer and select “Publish”.
Publish the app to a folder. The default location is bin\Release\net8.0\publish\ where this app gets published. I prefer to run all my services from C drive, so I created a new folder called TestWindowsService on the “C:/” drive and copied all the files inside the “publish” folder to this newly created folder. You are free to use any location of your choice.
Creating a Windows Service
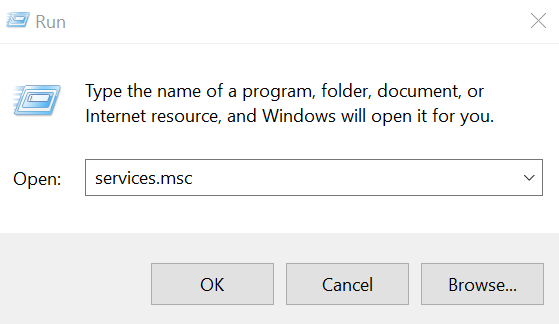
In windows go to the menu and select “Run”. In the Run box enter services.msc and click OK button.
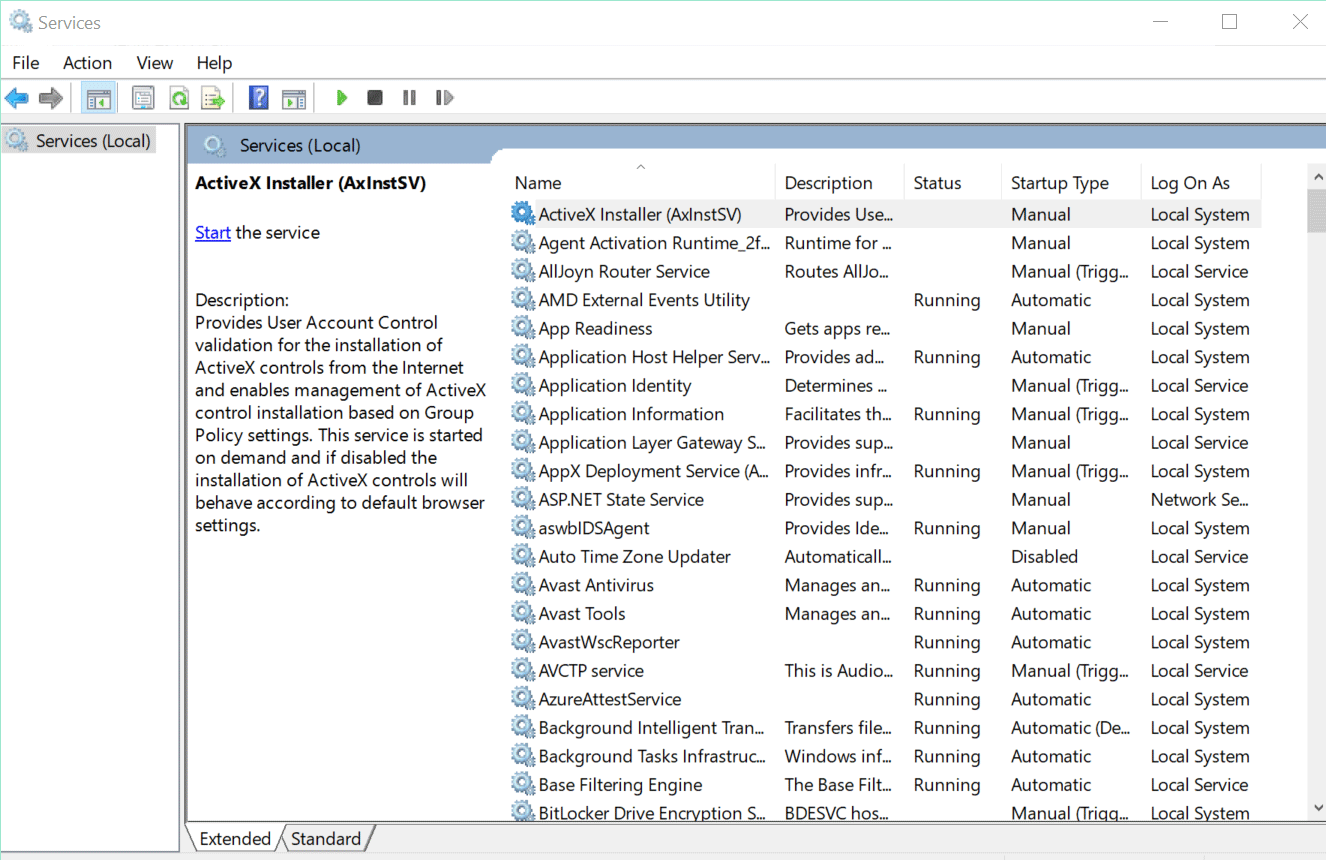
Windows services panel will open where you can see all the the available services. You can also start, stop or pause a service from this panel.
We can create a new Windows Service from Windows Service Control Manager (sc.exe) tool. This service will then run our .NET app. To create a Windows Service, open Powershell as an Admistrator. Now run the below command.
sc.exe create "YogiHosting Service" binpath="C:\TestWindowsService\TestWindowsService.exe"We have named the service as YogiHosting Service and provided the path of the app’s exe file to the binpath variable.
You will get the message – [SC] CreateService SUCCESS telling that the service is created.

Close and re-open Window Service Panel to check this service is now created. I have shown this on the below image.
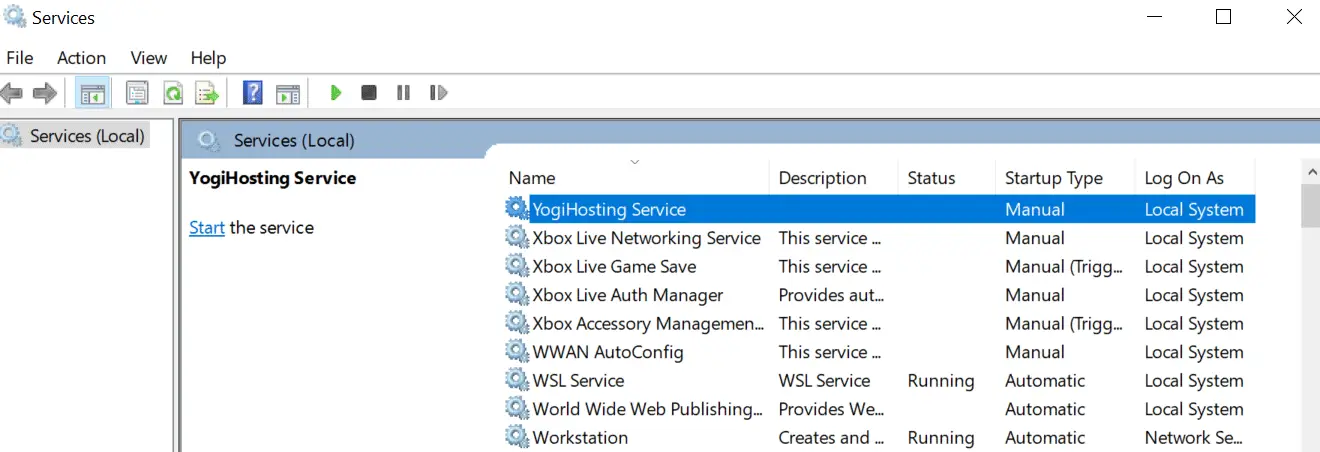
By default the created service is in the stopped state, we can now run this service by the below command.
sc.exe start "YogiHosting Service"
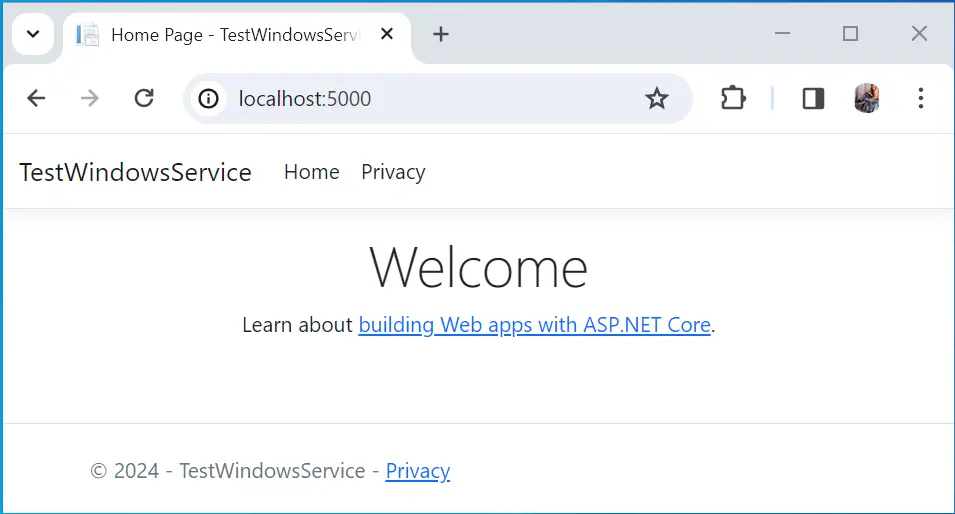
Well that’s it, open url – http://localhost:5000 on your browser and your app will be available. Check the below image.
Other important command are the stop command which will stop the service and the delete command which deletes the service.
sc.exe stop "YogiHosting Service"
sc.exe delete "YogiHosting Service"
We can see our hosted app’s logs in Event Viewer. Check the below image.
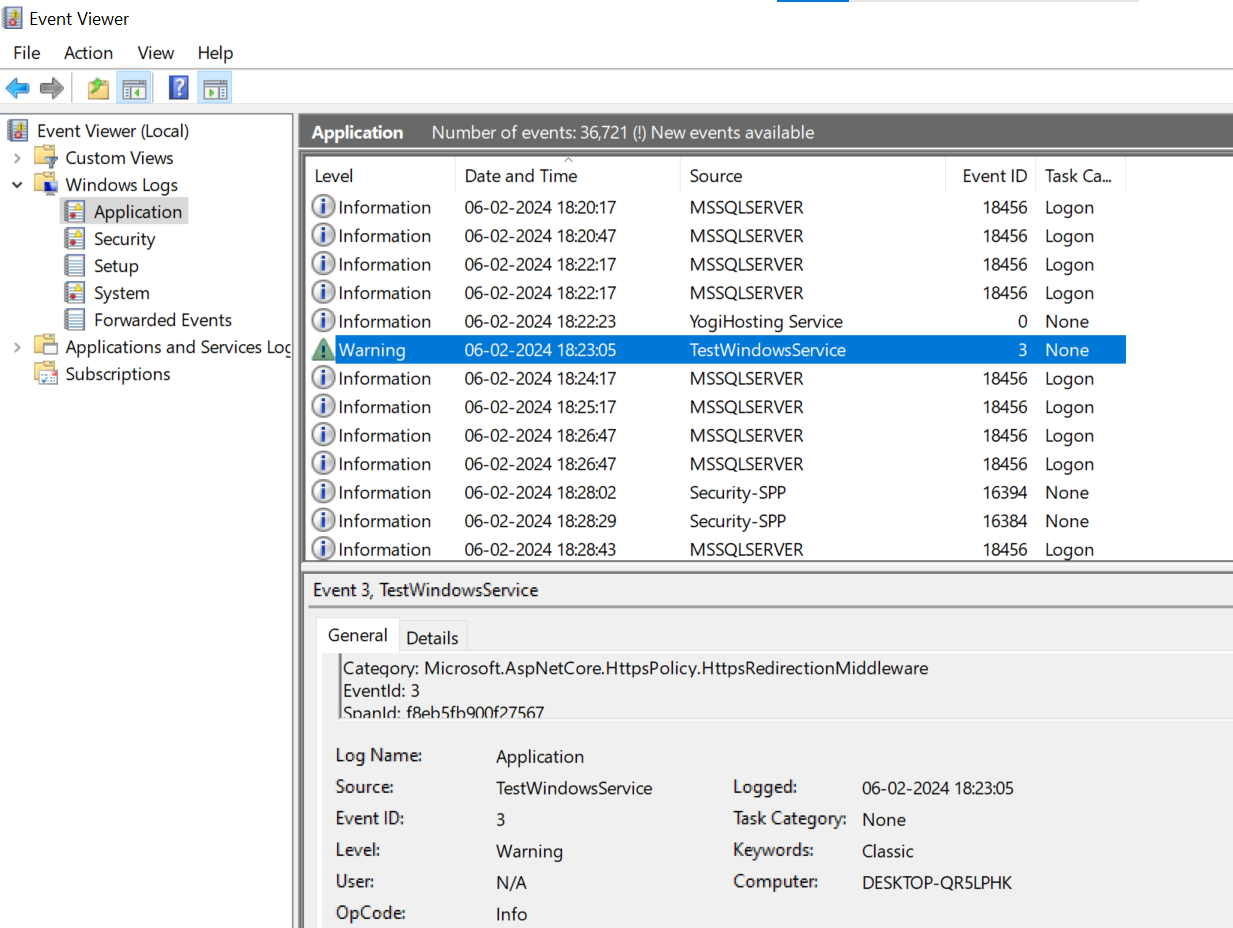
Our ASP.NET Core app is now successfully hosted from a Windows Service.
Creating a BackGround Service
We can create Background Service on our .NET apps to perform heavy tasks like scheduled jobs, eg sending emails at periodic times.
Add a class called SendEmails.cs to the app.
public class SendEmails : BackgroundService
{
    public ServiceA(ILoggerFactory loggerFactory)
    {
        Logger = loggerFactory.CreateLogger<SendEmails>();
    }

    public ILogger Logger { get; }

    protected override async Task ExecuteAsync(CancellationToken stoppingToken)
    {
        Logger.LogInformation("Starting");

        stoppingToken.Register(() => Logger.LogInformation("Stopping"));

        while (!stoppingToken.IsCancellationRequested)
        {
            Logger.LogInformation("Sending emails");

            // code to send emails

        }

        Logger.LogInformation("Stopped.");
    }
}
Then register this class in the Program.cs.
builder.Services.AddHostedService<SendEmails>();Let’s me know your thoughts on this tutorial from the below comments section. Thank you.




 Welcome to YogiHosting - A Programming Tutorial Website. It is used by millions of people around the world to learn and explore about ASP.NET Core, Blazor, jQuery, JavaScript, Docker, Kubernetes and other topics.