


ADO.NET – Delete Records in ASP.NET Core
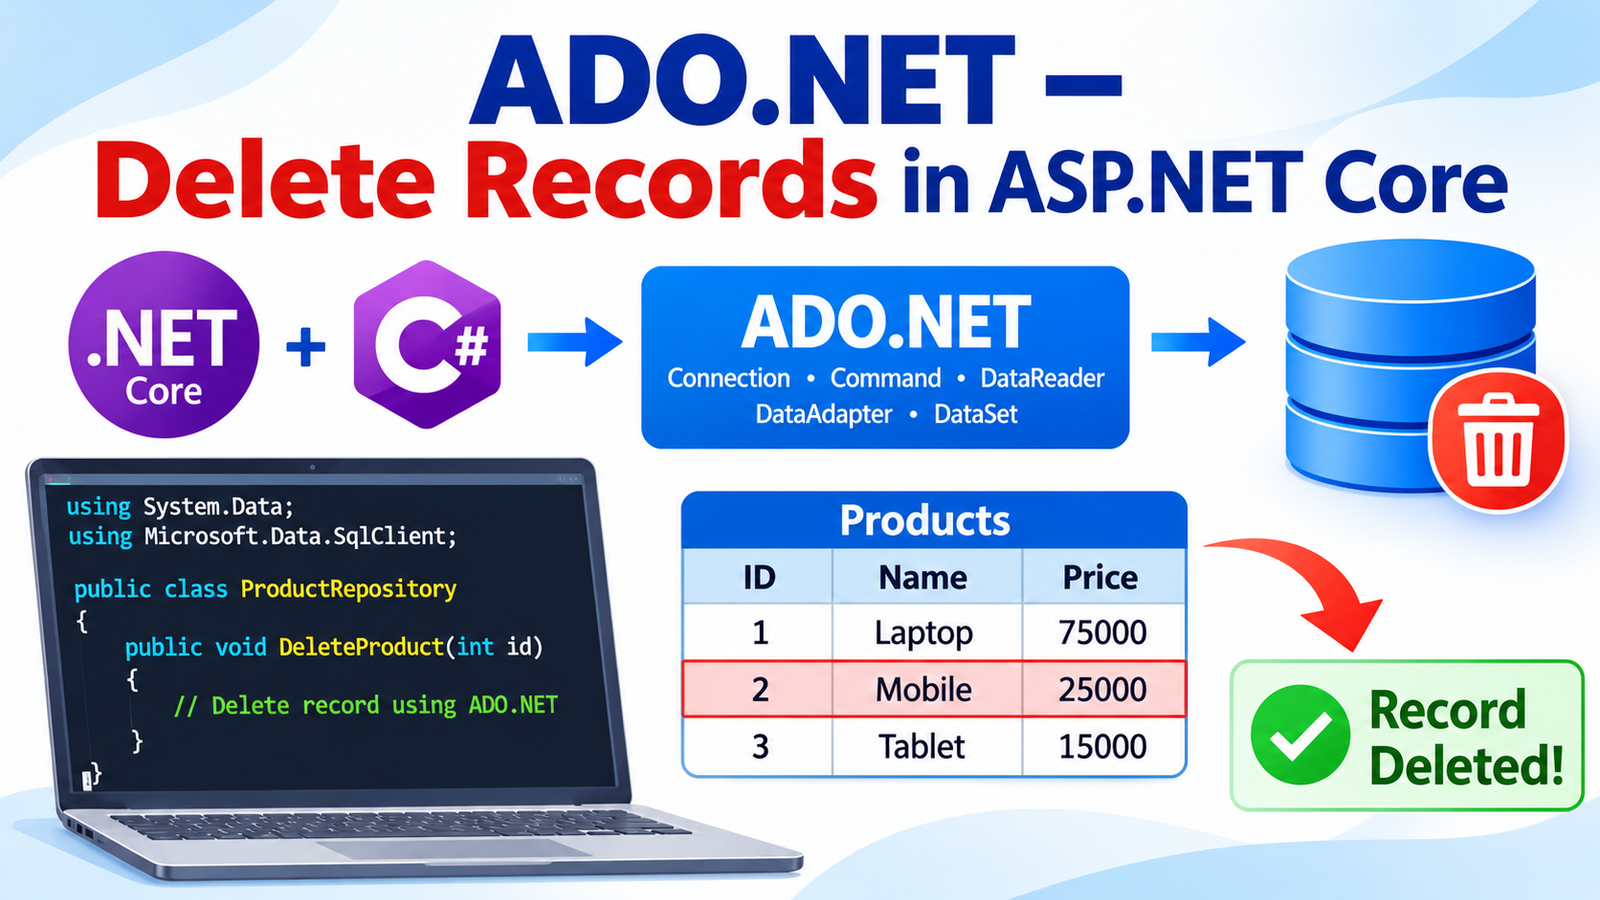
In the previous tutorial, you learned how to update records with ADO.NET in ASP.NET Core. Now it’s time to complete CRUD operations by adding the Delete Record feature. Just like the Update feature, Delete adds a new Delete column to the HTML table in the Index view, with a link on every row that removes that record from the SQL Server database using a parameterized DELETE statement and SqlCommand.

This tutorial is a part of ADO.NET series.
- 1. Learn ADO.NET by building CRUD Operations in ASP.NET Core
- 2. ADO.NET – Create Records in ASP.NET Core
- 3. ADO.NET – Read Records in ASP.NET Core
- 4. ADO.NET – Update Records in ASP.NET Core
- 5. ADO.NET – Delete Records in ASP.NET Core
- 6. How to do ADO.NET SqlTransaction with Try Catch Block
- 7. Learn to use ADO.NET SqlBulkCopy class with Example
In this new column we will add a Delete Button, which will show next to each of the inventory record. On clicking a Delete Button, the corresponding record will be deleted from the database.
So, go to the Index View of the home controller and update the table code to:
@model IEnumerable<Inventory>
@{
	ViewData["Title"] = "Read Inventory";
}

<h1>Inventory <a asp-action="Create" class="btn btn-sm btn-secondary">Create</a></h1>
<table class="table table-bordered table-sm table-striped">
	<thead>
		<tr>
			<th>Id</th>
			<th>Name</th>
			<th>Price</th>
			<th>Quantity</th>
			<th>Added On</th>
			<th>Update</th>
			<th>Delete</th>
		</tr>
	</thead>
	<tbody>
		@if (Model == null)
		{
			<tr><td colspan="7" class="text-center">No Model Data</td></tr>
		}
		else
		{
			@foreach (var p in Model)
			{
				<tr>
					<td>@p.Id</td>
					<td>@p.Name</td>
					<td>@string.Format(new System.Globalization.CultureInfo("en-US"),"{0:C2}", p.Price)</td>
					<td>@p.Quantity</td>
					<td>@string.Format("{0:dddd, dd MMMM yyyy}", p.AddedOn)</td>
					<td><a asp-action="Update" asp-route-id="@p.Id">Update</a></td>
					<td>
						<form asp-action="Delete" method="post" asp-route-id="@p.Id">
							<button>Delete</button>
						</form>
					</td>
				</tr>
			}
		}
	</tbody>
</table>
In the above code notice that we added a new th element inside the thead element:
<th>Delete</th>
Also, inside the foreach loop code we added a td element like:
<td>
    <form asp-action="Delete" method="post" asp-route-id="@p.Id">
        <button>Delete</button>
    </form>
</td>
Notice the form element is provided an action attribute called Delete by using the code – asp-action="Delete".
We are setting the route’s id parameter to the form’s action value from the code – asp-route-id="@p.Id". So when the Delete button is clicked then the form posts to the Delete action method along with the id value of the clicked record.
Now, we create the Delete Action Method in the Home Controller. It will have an id parameter which automatically get’s the id value of the clicked record (because of the asp-route-id="@p.Id" set in the form tag of the Index Action).
The Delete Action method code is given below:
[HttpPost]
public IActionResult Delete(int id)
{
    string connectionString = Configuration["ConnectionStrings:DefaultConnection"];
    using (SqlConnection connection = new SqlConnection(connectionString))
    {
        string sql = $"Delete From Inventory Where Id='{id}'";
        using (SqlCommand command = new SqlCommand(sql, connection))
        {
            connection.Open();
            command.ExecuteNonQuery();
            connection.Close();
        }
    }

    return RedirectToAction("Index");
}
In the Delete action, we build a SQL DELETE query that includes the record’s Id in its WHERE clause, so only the selected row is removed from the Inventory table. The query is then run with SqlCommand and ExecuteNonQuery().
string sql = $"Delete From Inventory Where Id='{id}'";
After executing the query with the ExecuteNonQuery method we are redirecting to the Index action so that the user can confirm the clicked record is indeed deleted from the database.
What is difference between ADO.NET and Entity Framework? ADO.NET works directly with the databases while Entity Framework Core is an ORM, a sort of application layer build over ADO.NET and uses LINQ to work with the databases. ADO.NET has a faster execution time and less learning curve compared to Entity Framework Core.
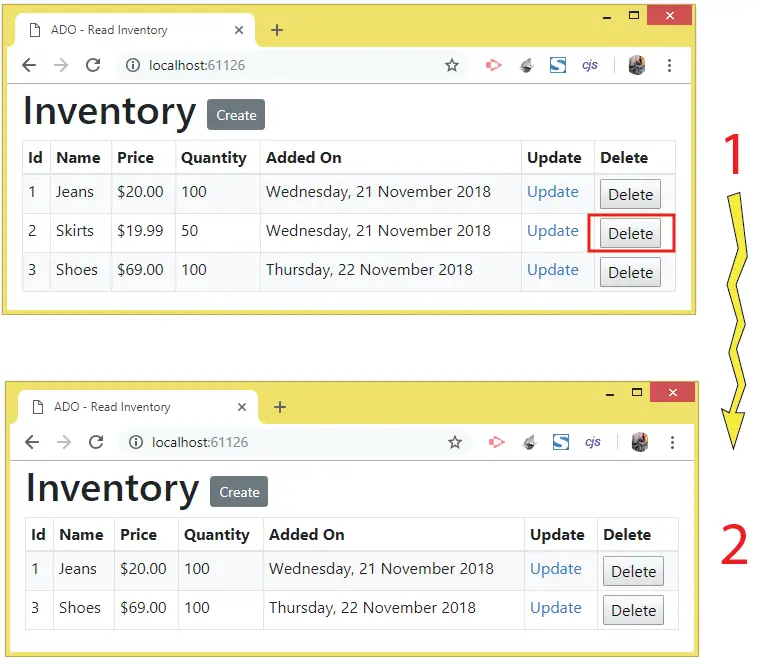
Run the project and click the Delete button for the 2nd record i.e. the skirts one. It will be deleted and you will see only the 2 remaining records. This is illustrated by the below image:
You can download the source code using the below link:
In this tutorial, you learned how to delete records from a SQL Server database table using ADO.NET in ASP.NET Core. You added a Delete column to the Inventory table in the Index view, passed the record Id to the Delete action, and removed the selected row with a SQL DELETE statement using SqlCommand and ExecuteNonQuery(). With this, you have completed all four CRUD operations in ADO.NET: Create, Read, Update, and Delete.
Key Takeaways
- A
DELETEstatement with aWHEREclause on the recordIdremoves only the selected row. - Without a
WHEREclause,DELETEremoves every row in the table. - Parameterized queries are the safest way to pass the
Idto the command and prevent SQL injection. ExecuteNonQuery()returns the number of rows affected, which you can use to confirm the deletion.
What’s Next?
You can now build a complete CRUD feature with ADO.NET in ASP.NET Core. To keep improving, try applying the same pattern to a new table, add validation to your forms, or move your database code into a repository class to keep controllers clean. You can also compare this approach with Entity Framework Core to see which suits your project better.
Frequently Asked Questions
How do I delete a record from SQL Server using ADO.NET in ASP.NET Core? – Open a SqlConnection, create a SqlCommand with a DELETE statement and a WHERE Id = @Id condition, add the value as a SqlParameter, and call ExecuteNonQuery().
What are CRUD operations in ADO.NET? – CRUD stands for Create, Read, Update, and Delete, the four basic operations used to manage data in a database.
Should I ask users to confirm before deleting a record? – Yes. Deleting is permanent, so a confirmation prompt helps prevent accidental data loss.
SHARE THIS ARTICLE


Related Tutorials:




ABOUT THE AUTHOR
I hope you enjoyed reading this tutorial. If it helped you then consider buying a cup of coffee for me. This will help me in writing more such good tutorials for the readers. Thank you.

HELLO EVERYONE
 Welcome to YogiHosting - A Programming Tutorial Website. It is used by millions of people around the world to learn and explore about ASP.NET Core, Blazor, jQuery, JavaScript, Docker, Kubernetes and other topics.
SUBSCRIBE TO NEWSLETTER
Enter your email address to subscribe to this blog and receive notifications of new posts by email.
Join 90K other subscribers