How to use Self Signed Certificate in ASP.NET Core
In this article we will learn how to use Self-Signed Certificate (SSL) in ASP.NET Core app. This app is running in Kestrel Web Server and we will create our SSL from Powershell commands.
Create and Publish .NET app
We create a new ASP.NET Core MVC app by running the below command on command prompt.
dotnet new mvc --name MyApp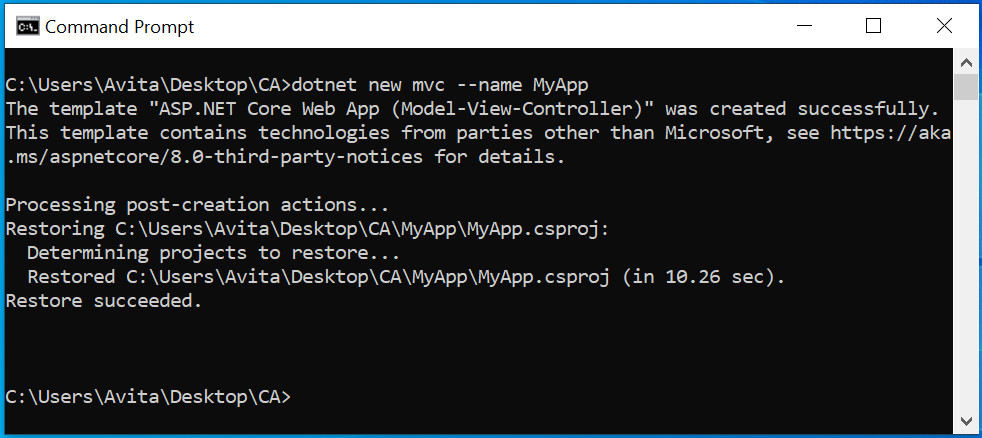
Next, we need to ensure that redirection middleware and ssl ports are configured in the app. First, open Program.cs file where you should have 2 code lines:
app.UseHsts();
app.UseHttpsRedirection();
They tell the app to use HTTP Strict Transport Security (HSTS) which ensures that the app should always be called on HTTPS and not on http. Also when http requests are made then app redirects them to https endpoints.
Next, in the appsettings.json, we add both http and https urls for the app running in Kestrel Web Server. For the SSL ports we will also provide the path to the SSL Certificate. The code is given below:
{
  "Kestrel": {
    "Endpoints": {
      "MyHttpEndpoint": {
        "Url": "http://localhost:1111"
      },
      "MyHttpsEndpoint": {
        "Url": "https://localhost:2222",
        "SslProtocols": [ "Tls12", "Tls13" ],
        "Certificate": {
          "Path": "mypfx.pfx",
          "Password": "1234"
        }
      }
    }
  }
}
Here we have given port 1111 for http url and 2222 for https url for the app.
Finally publish the .NET App by running the below command. Run this command from the app’s folder.
dotnet publish --configuration Release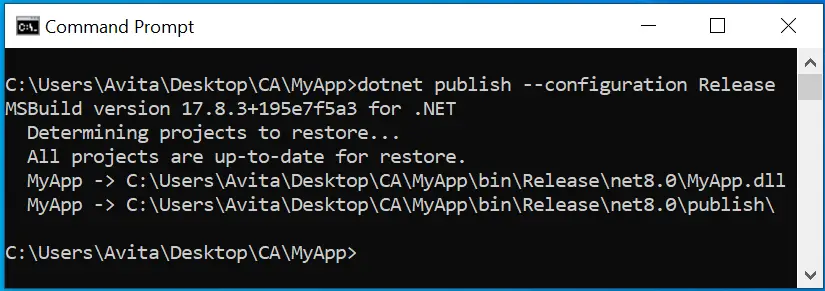
The published app files are created at the location \bin\Release\net8.0\publish inside the app’s folder.
In the published folder you will find MyApp.exe file. This exe file will run the Kestrel server that will be hosting our app. Double click it and check what happens.
We get an error, Kestrel does not find “mypfx.pfx” file and so it did not run.
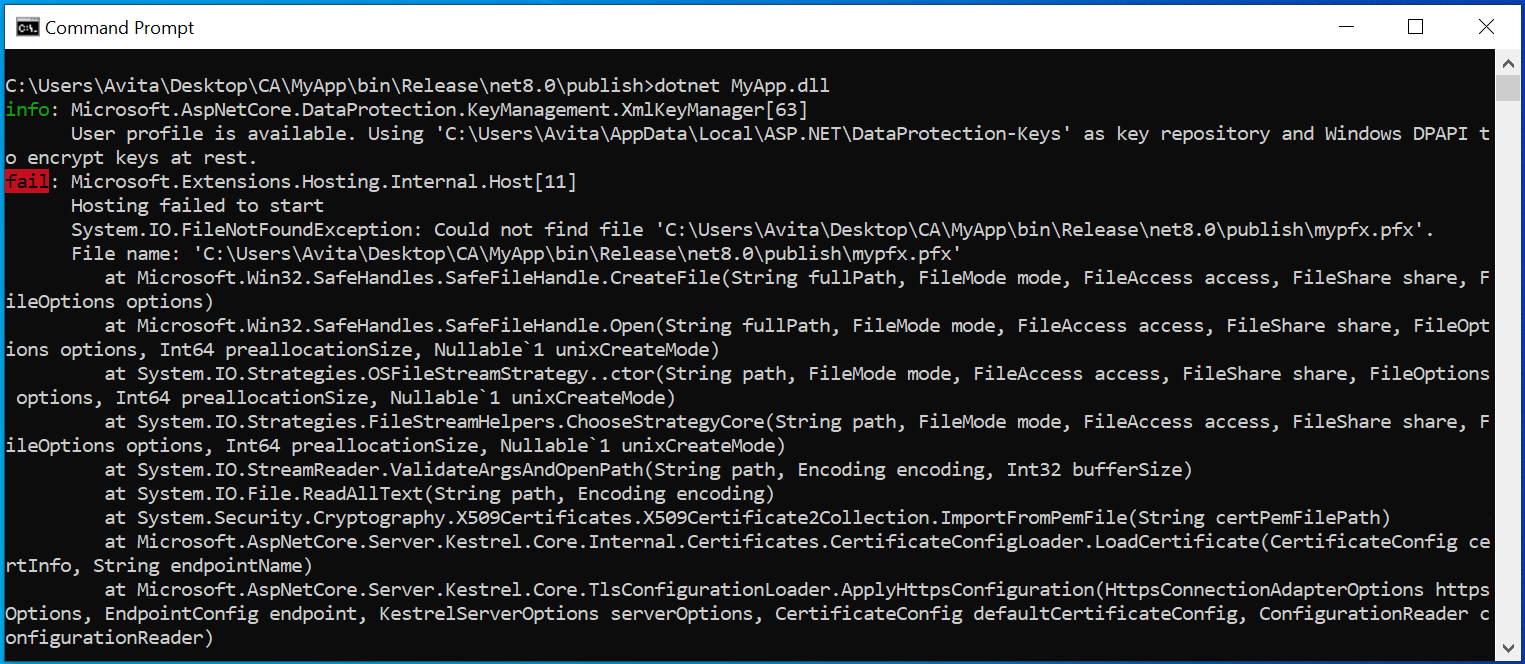
This is an expected thing, we will now correct this error.
Create Self Signed Certificate from Powershell
Open Powershell in Adminstrator mode. Next run the New-SelfSignedCertificate command which is given below. There are 2 command and run them one by one.
$params = @{
    DnsName = 'localhost'
    CertStoreLocation = 'Cert:\LocalMachine\My'
}

New-SelfSignedCertificate @params
We use “localhost” for the DnsName since we will be running the app locally. In production you have to change it to the domain name like www.yogihosting.com. See the below image:
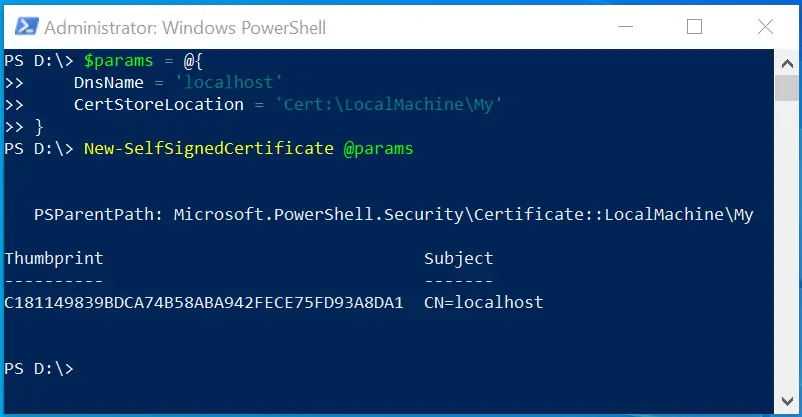
The SSL is created and we get it’s thumbprint. We now will export it in a .pfx file.
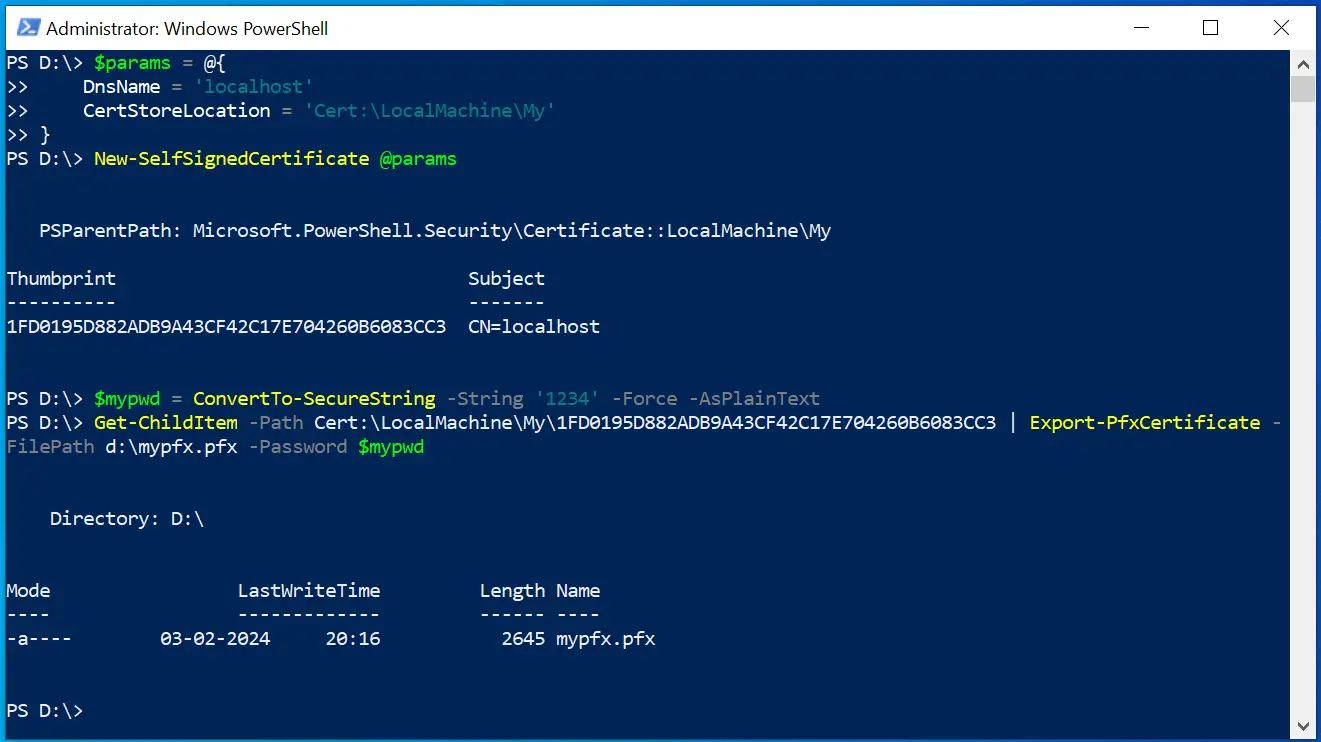
The Export-PfxCertificate command exports a certificate to a Personal Information Exchange (.pfx) file. Run the below 2 command to do this work. Note that in the first command we kept password for the .pfx file to be 1234, this you can change. While in the second command replace the thumbrint with your generated SSL certificate’s thumbprint.
$mypwd = ConvertTo-SecureString -String '1234' -Force -AsPlainText

Get-ChildItem -Path Cert:\LocalMachine\My\EE3D5FC94AB23AB3D03F8F24384E779A6CF53C3C | Export-PfxCertificate -FilePath d:\mypfx.pfx -Password $mypwd
The SSL Certificate is generated at the “D” drive. Copy and paste the “mypfx.pfx” file from there to the app’s published folder, which in my case is C:\Users\Avita\Desktop\CA\MyApp\bin\Release\net8.0\publish.
We did this since in the appsettings.json file we have provided the SSL Certificate path to be the published folder itself.
Check the below image where all these commands are run to create the SSL certificate.
Go to the published folder where their is MyApp.exe, double click on it to run the app on Kestrel. See the below image which shows the app is listening on ports 1111 and 2222.

My recently completed hosting articles on .NET, check –
Test app on the browser
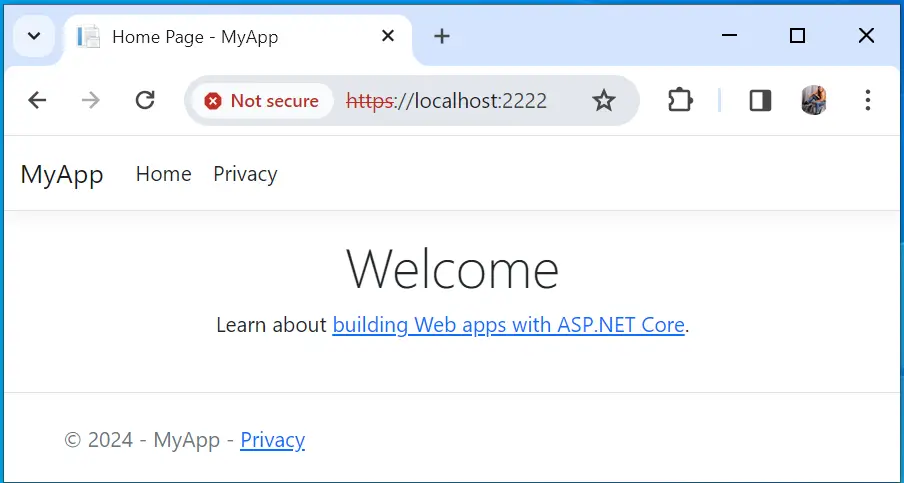
We can now open the url – http://localhost:1111 on your browser. You will see a warning – Your connection isn’t private, click on “Advanced” then select Continue to localhost (unsafe). You will be redirected to the https url of the app which is http://localhost:1111 and the app opens in the browser. Check the below image.
Trust Self Signed Certificate
Browsers does not trust self signed certificates and so they give us warnings. We can remove this warning by adding the certificate to Trusted Root Certification Authorities area of windows. In windows menu, select “Run” and enter certmgr.msc to open Certificate Manager Tool.
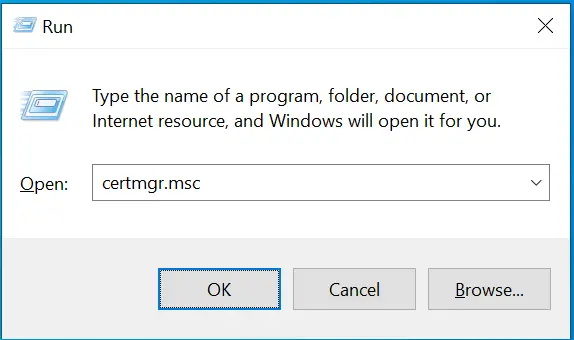
On the left side of Certificate Manager you will see Trusted Root Certification Authorities, right click on it then select All Tasks > Import. This opens the Certificate Import Wizard.
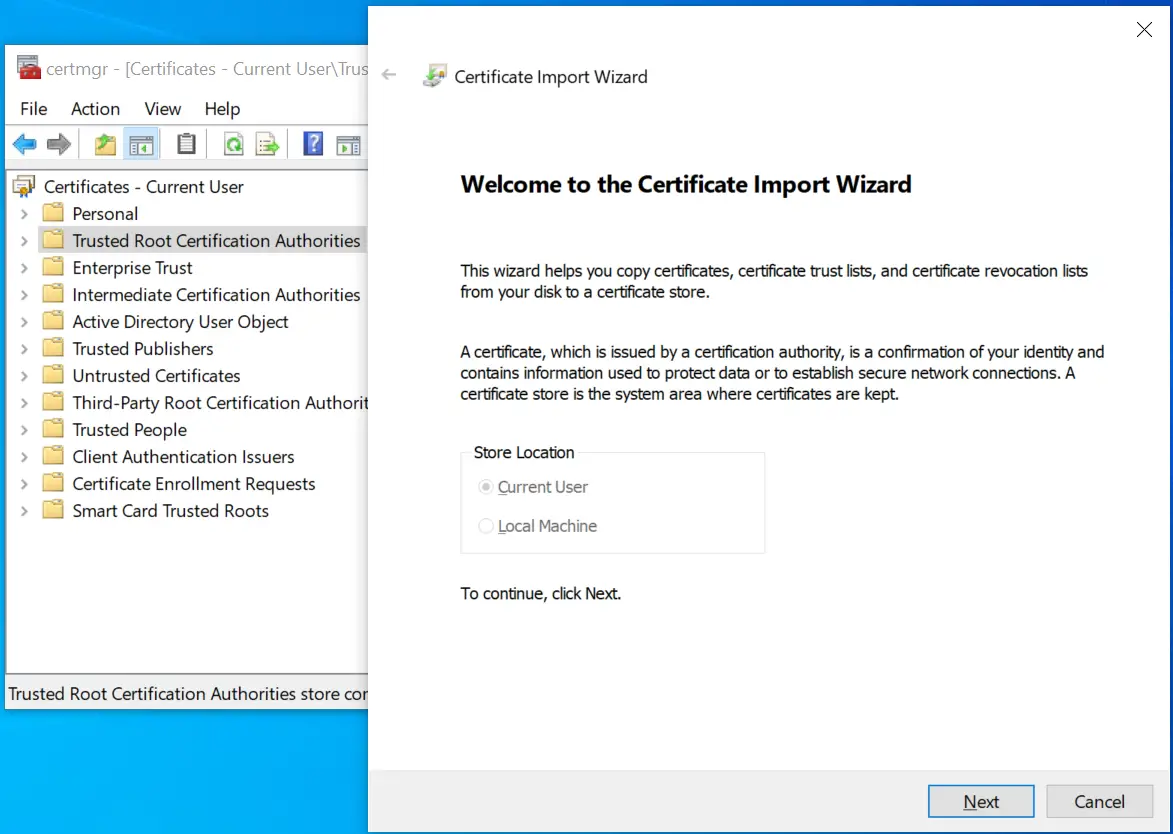
Follow the wizard and browse to the “mypfx.pfx” file to import it. Note that when password for the pfx file is asked enter “1234” which we used earlier. Also you get a security warning dialog which you have to accept.
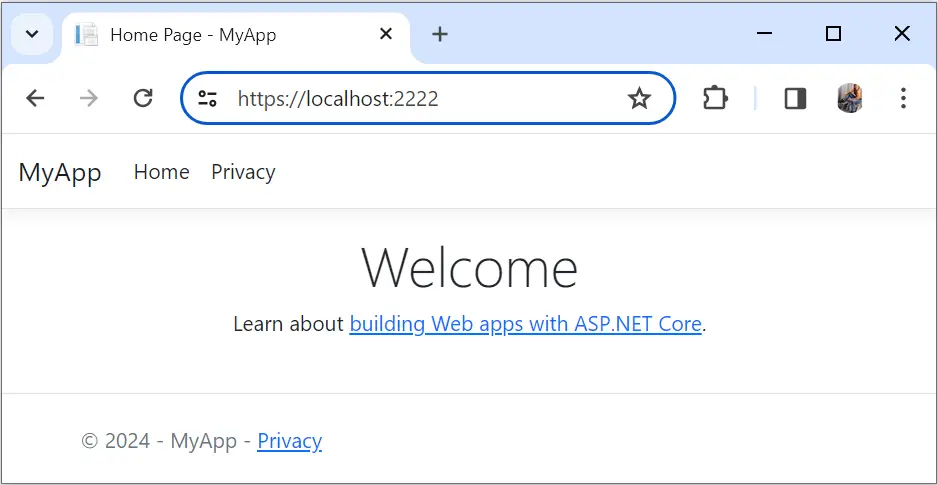
Now close and re-open the browser. Open the url – https://localhost:2222 and this time browser will have no problem with our self signed ssl certificate. The below image confirms this thing.
Now it’s your turn to implement this thing and tell me on the comments section if you received any problem in this work.




 Welcome to YogiHosting - A Programming Tutorial Website. It is used by millions of people around the world to learn and explore about ASP.NET Core, Blazor, jQuery, JavaScript, Docker, Kubernetes and other topics.