Deploy ASP.NET Core App on Kubernetes

In this ASP.NET Core Kubernetes Tutorial we will be deploying an ASP.NET Core app to Kubernetes from start till end. We will take the topic of Kubernetes Objects which are Pods, Deployments and Services. Finally, we will use these objects to host the ASP.NET Core app on Kubernetes. This tutorial will give you a solid foundation of K8s so make sure you go through the whole tutorial. Let us start it with any further delay.
Page Contents
ASP.NET Core Kubernetes series consists of the following articles:
- Deploy ASP.NET Core App on Kubernetes
- Managing ASP.NET Core app hosted on Kubernetes
- How to use Kubernetes Ingress on an ASP.NET Core app
- Kubernetes: Host Multi-Container ASP.NET Core app to Single Pod
- Kubernetes: Host Multi-Container ASP.NET Core app to Multiple Pods
- Kubernetes Volume emptyDir and SSL Mount to volume
- Kubernetes Persistent volumes (PV) and Persistent Volume Claim (PVC)
- Kubernetes Liveness Readiness Startup Probes
- How to use Helm for ASP.NET Core with Kubernetes
Imperative Commands and Declarative Object Configuration
There are 2 techniques/approach to manage k8s objects these are:
- 1. Imperative Commands.
- 2. Declarative Object Configuration.
In imperative commands, we provide operations to kubectl that it needs to perform in a single step. For example, see the below command which is creating a deployment called mydep and uses nginx image.
kubectl create deployment mydep --image nginxIn Declarative Object configuration, we define objects in a configuration file and tell kubectl to create the object based on this configuration file. The configuration file is a YAML file with extension .yaml or .yml. The YAML file has key: value expressions to specify our needs.
For example, we are telling kubectl to create an object which is defined in the configuration file called myobj.yaml.
kubectl create -f myobj.yamlThis myobj.yaml file would contain the below instructions/codes:
apiVersion: apps/v1
kind: Deployment
metadata:
  name: nginx-deployment
  labels:
    app: nginx
spec:
  replicas: 1
  selector:
    matchLabels:
      app: nginx
  template:
    metadata:
      labels:
        app: nginx
    spec:
      containers:
      - name: nginx
        image: nginx:1.14.2
        ports:
        - containerPort: 80
Notice that we specified kind: Deployment which means the configuration file is asking kubectl to create a Deployment. Declarative Object Configuration approach is mostly used in k8s development.
Kubernetes Objects
Kubernetes objects are entities that describe the states of various components running on K8s cluster. Some examples of what they describe are:
- What containerized applications are running and on which worker nodes.
- The resources available to those applications.
- The policies such as restart policies, upgrades, and fault-tolerance.
The important Kubernetes objects are:
- 1. Pods
- 2. Deployments
- 3. Services
- 4. Ingress
Let us take each of them one by one.
What are Pods in Kubernetes
A Pod in Kubernetes is the smallest execution unit. A Pod can run single docker container or multiple docker containers.

We will be deloying an ASP.NET Core app to a Kubernetes Pod in just a moment.
Actually, Kubernetes is not limited to docker, k8s also supports other docker like container runtime software. Some examples are containerd & CRI-O.
You can create Pods by using workload resources such as Deployment. The deployment will manage the pods and if any pod goes down due to some error or anything else, then the deployment will either restart it or create a new pod and run it again.
Pods Networking and Data Sharing
Pods can also communicate with one another and with the k8s cluster. Each pod is assigned it’s own IP address and with this IP address they communicate with one another.
A Pod can specify a set of shared storage volumes and the containers running inside the Pods can access the shared volumes. Volumes also allow persistent data and survives in case one of the containers needs to be restarted.
Important commands for Pods
To see the list of all the Pods running in a k8s cluster run the kubectl get pods command which is given below.
kubectl get podsIf you run the above command you will be going to see no result as you don’t have any pods in your system. We will create our first pod in just a moment.
You can see a detailed description about your pods by running the describe pod command given below.
kubectl describe pod podnameWhat are Deployments in Kubernetes
A Deployment provides Kubernetes about needed states for an app. In deployment we describe to k8s things such as:
- The images to be used for the app.
- The container states needed for running the image.
- The number of Pods needed to run the containers and the way the pods should update or rollback.
- How to scale up and scale down.
To create a deployment in k8s we will create a YAML configuration file with any name of our choice and then ask k8s to create a deployment according to this YAML file. In short, we will use Declarative Object Configuration approach.
Deployment Configuration File
The configuration file given below is creating a deployment object in k8s. We have named it as mydep.yaml. You can give it any name of your choice.
Look for the indentations as they are very necessary in a YAML file. If the indentations are not correct then you will receive errors when creating an object from this file.
apiVersion: apps/v1
kind: Deployment
metadata:
  name: first-dep
  labels:
    app: aspnet-core-app
spec:
  replicas: 1
  selector:
    matchLabels:
      component: web
  template:
    metadata:
      labels:
        component: web
    spec:
      containers:
        - name: csimpleweb
          image: simpleweb
          imagePullPolicy: Never
          ports:
            - containerPort: 8080
Notice it has key: value expressions in it. Let us understand what it is saying. From the top:
The apiVersion: apps/v1 tells the api version to be used. Different types of configuration files have different version. If you are creating a deployment than it will remain same for your file to.
In the second line we have kind: Deployment which tells k8s that this configuration is for deployment object.
The metadata field specifies meta data for the deployment. We have added 2 fields to it which are:
- a. name
- b. labels
metadata:
  name: first-dep
  labels:
    app: aspnet-core-app
We have named the deployment as first-dep by using the name field. Then we have provided labels field for the deployment which is:
labels:
  app: aspnet-core-app
Here app: aspnet-core-app can be anything.
With labels, we can select an object. For example, if we want to delete an object (which can be anything like a deployment, pod, service, ingress, etc) then we can use these labels for selecting the object and then deleting them. The below command will delete an object with this way.
kubectl delete -l app=aspnet-core-appMore than one labels can be used for an object. Example:
labels:
  app: aspnet-core-app
    stack: test
So, to delete this object the command will be:
kubectl delete -l app=aspnet-core-app, stack=testNow coming to the spec section which is quite big and tells deployment how it should create and manage the pods, what these pods will do, and the container which will be contained by these pods.
spec:
  replicas:1
  selector:
    matchLabels:
      component: web
  template:
    metadata:
      labels:
        component: web
    spec:
      containers:
        - name: csimpleweb
          image: simpleweb
          imagePullPolicy: Never
          ports:
            - containerPort: 8080
The spec contains 3 fields which are:
- replicas
- selector
- template
We specified 1 pods with replicas:1, and this pod will be going to run the ASP.NET Core App. You can also run more than 1 Pods like 3 by setting replicas:3.
Then there is selector.matchLabels field which serves as a selector for the deployment to apply to the pod.
selector:
    matchLabels:
      component: web
The matchLabels tell the deployment to apply itself to only those Pods which have the labels component: web. The Pods labels will be defined next.
Then comes the template field for the Pods. The section which we are talking is:
template:
  metadata:
    labels:
      component: web
  spec:
    containers:
      - name: csimpleweb
        image: simpleweb
        imagePullPolicy: Never
        ports:
          - containerPort: 8080
With the metadata field we describe the meta data for the Pods. We provided the labels for the Pods which is:
labels:
  component: web
Check that this is actually the same which the matchLabels field instruct the deployment to target those pods that have the label as component: web.
matchLabels:
  component: web
We have shown this thing in the below image.

You can have more than one label for the Pods and then in your matchLabels field you will need to specify all of these labels for the Pods to be targeted by the deployment.
Next, there is a spec for the Pods and it is given under the template field. See the below code:
spec:
  containers:
    - name: csimpleweb
      image: simpleweb
      imagePullPolicy: Never
      ports:
        - containerPort: 8080
The spec field contains the containers field that describes the containers which the Pods will contain.
The name of the container is provided as “cssimpleweb”.
- name: csimplewebNext the image name for the container is specified as “simpleweb”.
image: simplewebAlso note that you will have to create this docker image or you can instruct k8s to download the image from a registry like Docker Hub, Azure Container Registry, Microsoft Container Registry and so on.
The next field imagePullPolicy tells whether to download the image from a registry or not. We have set it to “Never” as we will be building the docker image so the deployment will directly use the image from there.
imagePullPolicy: NeverSuppose the image resides in docker hub then we can set it to “Always” and this will force the deployment to preform image pull from the registry every time it is created. Note that “Always” is the default value and if you want then you can simply omit the imagePullPolicy field.
Finally, there is ports field which specifies the container port that will be opened. In our case, we specified the port 8080 to be opened inside the container.
Note that port 8080 will the port defined in Dockerfile (we will see this in the next section). If you want a different port then you will have to add that port using environment variables.
ports:
  - containerPort: 8080
Enough of the theory part, let the apply it on the system. So we will create a new ASP.NET Core app then create it’s docker image. Next we will host my app on Kubernetes using the deployment which we just described.
Create a new ASP.NET Core App
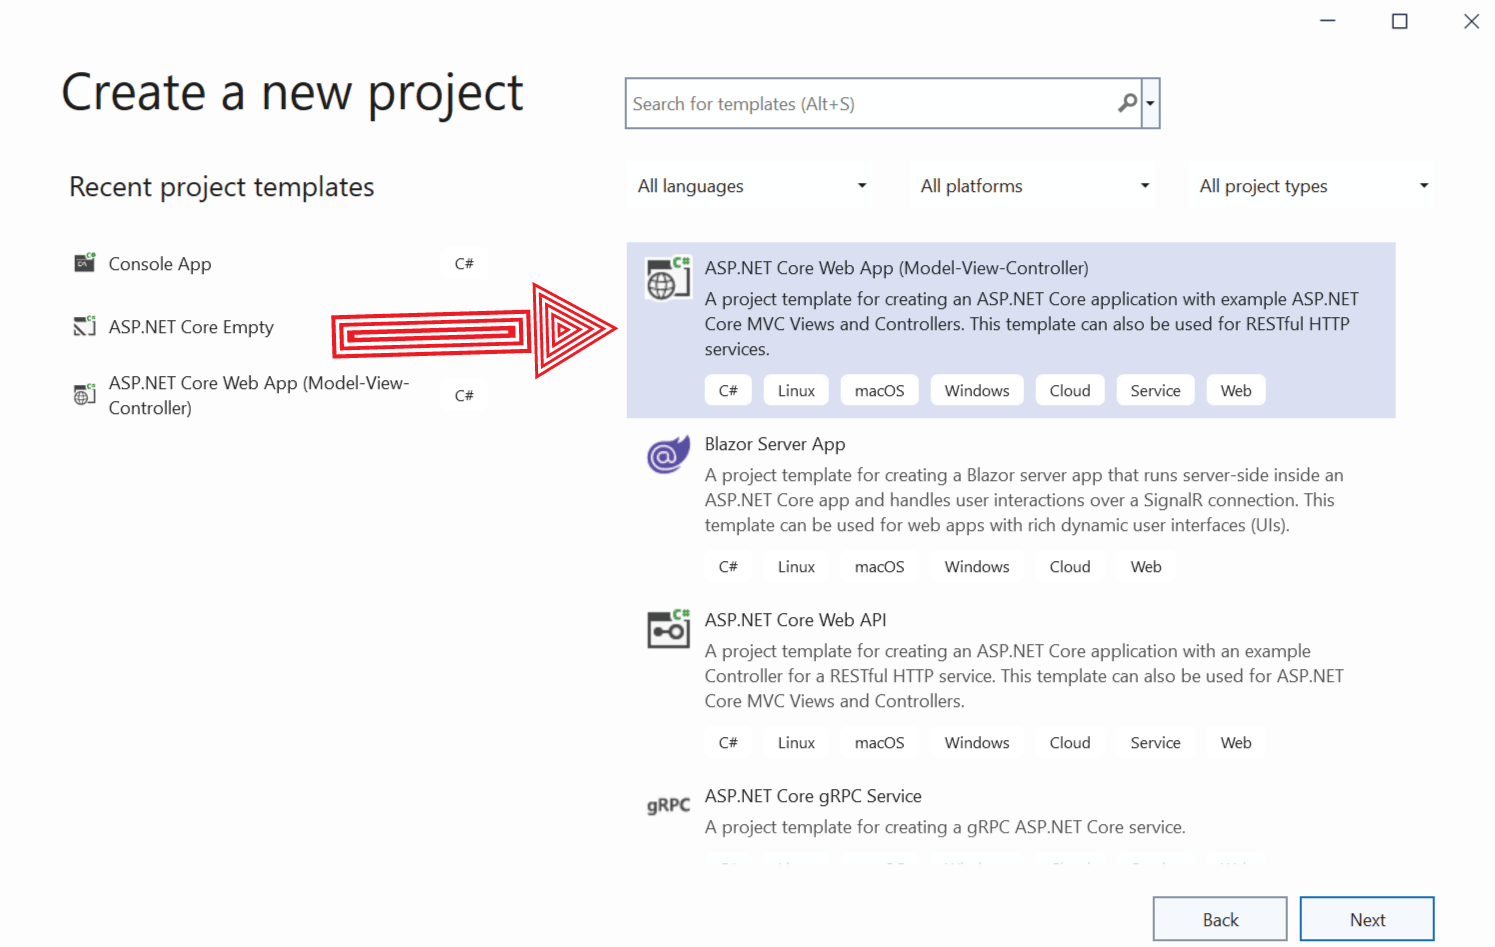
First open Visual Studio and create a new ASP.NET Core Web APP (Model-View-Controller).
Give a name to your app, we named the app as FirstKubeApp, and make sure to check the option that says – Place solution and project in the same directory.

On the next screen select the latest version of DOT NET which is .NET 10.0.

Run the app in visual studio. You can see it’s a basic app with just 2 pages – “home” and “privacy”.
Next add Container Support to this app, so right click the app name in the solution explorer then select Add ➤ Container Support. This will create a Dockerfile for the app.

Now you will be asked to select the target OS. Select Linux as it is the King of OS.

The Dockerfile will be added to the app.
# This stage is used when running from VS in fast mode (Default for Debug configuration)

FROM mcr.microsoft.com/dotnet/aspnet:10.0 AS base
USER $APP_UID
WORKDIR /app
EXPOSE 8080
EXPOSE 8081

# This stage is used to build the service project
FROM mcr.microsoft.com/dotnet/sdk:10.0 AS build
ARG BUILD_CONFIGURATION=Release
WORKDIR /src
COPY ["FirstKubeApp.csproj", "."]
RUN dotnet restore "./FirstKubeApp.csproj"
COPY . .
WORKDIR "/src/."
RUN dotnet build "./FirstKubeApp.csproj" -c $BUILD_CONFIGURATION -o /app/build

# This stage is used to publish the service project to be copied to the final stage
FROM build AS publish
ARG BUILD_CONFIGURATION=Release
RUN dotnet publish "./FirstKubeApp.csproj" -c $BUILD_CONFIGURATION -o /app/publish /p:UseAppHost=false

# This stage is used in production or when running from VS in regular mode (Default when not using the Debug configuration)
FROM base AS final
WORKDIR /app
COPY --from=publish /app/publish .
ENTRYPOINT ["dotnet", "FirstKubeApp.dll"]
Notice the Dockerfile expose container port 8080 – EXPOSE 8080 and we have defined the same port in the depoloyment yaml file – containerPort: 8080.
Now, in your command prompt, go to the directory of the Dockerfile. You can do this by the cd command. Then run the “dir” and confirm that the Dockerfile is shown.

Now build the image by the docker build command given below.
docker build -t simpleweb -f Dockerfile .Notice the “.” at the end of the build command, it is necessary. The image called simpleweb will be built.
You can now run the docker images command which will show all the images. You can also see the “myfirstimage” image there to. See the below image where we have shown this.

We now will create the Kubernetes Deployment. The deployment file can have any name of your choice and should have a .yaml or “.yml” extension. We have named this deployment file as mydep.yaml.
You can save this file in any directory of your pc. This configuration file’s code is the same which we discussed with you earlier and is given below.
apiVersion: apps/v1
kind: Deployment
metadata:
  name: first-dep
  labels:
    app: aspnet-core-app
spec:
  replicas: 1
  selector:
    matchLabels:
      component: web
  template:
    metadata:
      labels:
        component: web
    spec:
      containers:
        - name: csimpleweb
          image: simpleweb
          imagePullPolicy: Never
          ports:
            - containerPort: 8080
Now go to the directory of this configuration file and run the kubectl apply command and is given below.
kubectl apply -f mydep.yamlThe deployment will be created with a message deployment.apps/first-dep created.
Now you can see this deployment by running the kubectl get deployments command.
kubectl get deploymentsNext run the kubectl get pods command which will show you 1 pod running as we set replicas:1 in the configuration file.
Check the below image where we have shown the outputs of these command.

Congratulations our deployment is applied to k8s cluster and your app is running in a docker container which is contained inside a Pod.
Next, we will see how to expose the Pods by using a Kubernetes Service.
What are Services in Kubernetes
A Kubernetes Service assigns a unique IP address to the Pods so that they are exposed to the outside. Service also gives a single DNS name for a set of Pods running an app.
Why service comes to picture ? Pods have IP address and you can communicate with them using their IP addresses. A Deployment manages Pods and may destroys old pods and creates new pods for your app. So, the IP address of the Pods running the app will change. Therefore, communication with IP addresses will break sometime in the future.
Here comes the service which connects with the pods not with their IP address but with selector (recall we discussed selector during the time of “Deployment” in the above section). So, you use a service to communicate with the Pods and this communication will never break.

Services do the following works:
- A label selector that locates pods.
- Creates a clusterIP IP address that assigns port number and port definition to itself.
- Mapping of incoming ports to a targetPort of the Pods
Services are of 4 types:
ClusterIP – this is the default service type. This service is only reachable from within the cluster and not from outside.
NodePort – this type of service is reachable from outside the cluster. The path for this service would be <NodeIP>:<NodePort>. I will be creating this type of service since I want my app to be accessible on the browser with a url.
LoadBalancer – this type of service is used in the cloud like Azure. The cloud provider provisions a load balancer for your Service.
ExternalName – this service is mapped to a DNS name
Creations of a service is done through YAML configuration file. Each of the 4 service configuration file is different.
How to create a Service in Kubernetes
Let us now create a Service in Kubernetes using YAML configuration file. My app is already running inside a Pod and I want to access it through a URL in the browser. Therefore a NodePort Service will be an ideal candidate for this situation.
So create a new YAML file and name it myservice.yaml or anything of your choice. The only necessity is that it’s extension should be .yaml or .yml.
Add the following configurations to this file.
apiVersion: v1
kind: Service
metadata:
  name: first-service
spec:
  type: NodePort
  selector:
    component: web
  ports:
    - port: 9999
      targetPort: 8080
Most of the fields are the same which we have already discussed when creating deployment configuration file (see above).
We defined the field called apiVersion and given it’s value to “v1”. All the services of type NodePort much have this api version.
apiVersion: v1Next, we defined the kind field as Service. This tells k8s that the object being created by the configuration file is a Service.
kind: ServiceNext, gave the service name as first-service.
metadata:
  name: first-service
Next, coming to the spec section where we defined the service type as NodePort.
spec:
  type: NodePort
After that there is a selector that tells the service should target all the Pods that have the label component: web. Check the deployment config file where we have provided the pods the same label.
selector:
  component: web
Finally, there is ports field that specifies how the ports of the service will be mapped to that of the container running inside of a Pod. There are 2 fields:
- 1. port – the port of the service.
- 2. targetPort – the port of the container which the service will target. It should be the same port which is given by containerPort field in the deployment config file.
ports:
  - port: 9999
    targetPort: 8080
I specified that the 9999 port of the service should be mapped to port 8080 of the container.
Now let us apply this configuration which will create the service in Kubernetes.
So, in the command prompt, go to the directory where this configuration is kept and run the following command.
Kubectl apply -f myservice.yamlThis will apply the configuration and create the service called “first-service”. Run the command kubectl get services and you will see your newly created service.
We can access the service on the browser through it’s ports. First run the command kubectl get services where you will see the “first-service”. On it’s Ports field you will see 9999:30818.

Open http://localhost:30818/ on your browser to access the ASP.NET Core app running from Kubernetes.

You can now download the source codes of this tutorial.
Congrats, you completed this very long ASP.NET Core Kubernetes Tutorial which explains how to host your app in Kubernetes by using Pods, Deployments and Services. Now it’s your time to deploy your ASP.NET Core app on Kubernetes.
SHARE THIS ARTICLE
Related Tutorials:


ABOUT THE AUTHOR
I hope you enjoyed reading this tutorial. If it helped you then consider buying a cup of coffee for me. This will help me in writing more such good tutorials for the readers. Thank you.

Comments
Leave a Reply
HELLO EVERYONE
 Welcome to YogiHosting - A Programming Tutorial Website. It is used by millions of people around the world to learn and explore about ASP.NET Core, Blazor, jQuery, JavaScript, Docker, Kubernetes and other topics.
SUBSCRIBE TO NEWSLETTER
Enter your email address to subscribe to this blog and receive notifications of new posts by email.
Join 90K other subscribers
Hi,
first, thank you for these articles, they are really helpful. But I’m having issues with the last step. When I try to create a tunnel, browser is opened, but it times out. I went through all the steps. The only difference is the version:
minikube version: v1.25.2
Well I think there is some pod problem or the app may be getting an error. Kindly try debugging to find out any cause. I would suggest you to read my tutorial Managing ASP.NET Core app hosted on Kubernetes where you can understand debugging, bash session etc.
Just a comment to add to MaticDiba: I get the same problem/error following this tutorial. I’m running Windows, not sure if that is the problem. To get it to work I used an Ingress and “minikube tunnel”. This makes it work in Windows also. (Running minikube v1.25.2) See here also (you don’t have to use ssh, just run “minkube tunnel” and it will work): https://www.yogihosting.com/kubernetes-ingress-aspnet-core/
Also yogihosting, thanks for nice tutorials!
Thank you friend for the update on Ingress. This will help other readers who are implementing it on windows.